


Why I took lousy travel photos? Part 1 of 3
I once heard a photographer illustrated three types of travel image:
- What do you see when you are there?
- How is it like to be there?
- How is it like to live there?
The fact is, most travelers can barely achieve #1 as they do not understand their equipment (camera, smartphone, etc) to capture what they see. The images are: over-exposure, too dark, blurred and looks odd, even if they have the most advanced digital camera on their hands. Even with the modern technology and preview screen on a digital camera, blurry night image and contrasty outdoor photo are the two most common failures that I have seen. I recalled a friend commented his $1200 SLR as an expensive Point & Shoot, except he can make more bad shots faster.
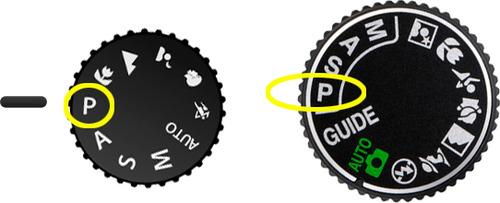
It is never a bad idea to make sure you practice shooting with your camera gear before heading out to your travel destination. For the DSLR users, as a starter, review your user manual and learn how to shoot with the Aperture Priority (A mode). Using the Program mode (P) or the Automatic feature will render your $1000 camera as nothing more but an expensive Point & Shoot camera; it also limits what you can do with your camera.
For the smartphone users, I recommend a book, The Best Camera Is The One That’s With You by Chase Jarvis. It is an easy-read for someone who would like to maximize the use of a smartphone camera while traveling overseas or at home. At the minimum, use a phone app that can start up fast, and shoot fast.
We will dive into the details of three different types of travel image in the upcoming articles.
A great moment seldom repeats; so make sure you don’t miss it, whether it is through your memory or your lens.

I have to admit that I am not good in shooting… (I mean photo shooting). This will be good to know how to utilize my gear better. Thanks for the post.